match是fastlane提供的一种全新的管理证书的方式,它使团队所有成员共享一份代码签名,以减免不必要的证书创建,描述文件失效等问题。
一、初始化match
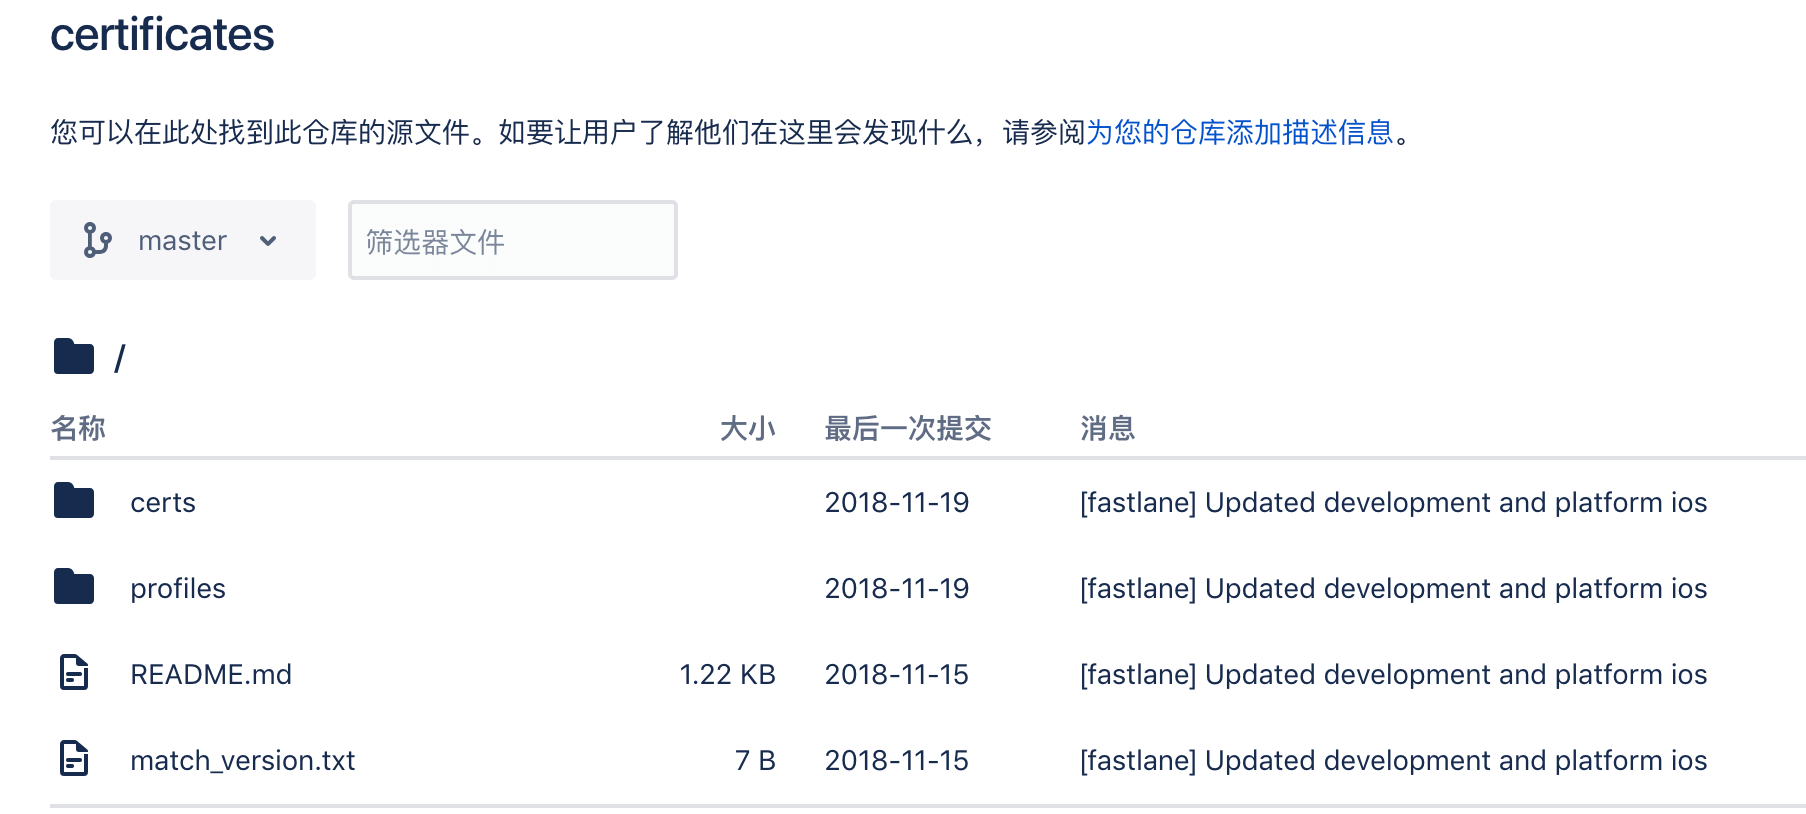
1、因为match是将所有的证书和描述文件统一放在git仓库中,所有第一步就是先创建一个私有仓库,注意一定要是私有仓库!名字官方建议为certificates
2、在项目文件夹下执行
fastlane match init
系统会提示输入Git仓库的链接,需确保当前账户有git仓库的访问权限。执行完成后会在/fastlane下生成一个叫做Matchfile的文件。里面保存着你刚才输入的Git仓库链接,以后操作match,会默认读取该URL。
git_url("你的git仓库地址")

storage_mode("git")

type("adhoc") # The default type, can be: appstore, adhoc, enterprise or development

# app_identifier(["tools.fastlane.app", "tools.fastlane.app2"])
# username("user@fastlane.tools") # Your Apple Developer Portal username

# For all available options run `fastlane match --help`
# Remove the # in the beginning of the line to enable the other options

# The docs are available on https://docs.fastlane.tools/actions/matchtype是match的默认类型,当执行fastlane match时,在当前环境下也就相当于执行fastlane match development
3、这一步官方建议通过命令清除之前的证书和描述文件,毕竟我们想从一个干净的环境出发,所以如果当前不是上线时刻,或是其他急用的场景就放心的搞吧。
️企业账号慎用,销毁描述文件可能会导致App无法打开。
fastlane match nuke development ---开发证书
fastlane match nuke distribution ---apple store 和 adhoc使用此命令
fastlane match nuke enterprise ---企业证书4、创建新的证书和描述文件,通常来说,我们需要appstore、development、以及adhoc环境的证书和描述文件,所以分别执行
fastlane match appstore
fastlane match development
fastlane match adhoc第一次执行完后,match会创建新的证书和描述文件,之后执行会拉取仓库已经存在的。
此时打开你的git仓库可以看到证书和描述文件已经存在了,并且证书和私钥也存放到了钥匙串中,描述文件存放于Mac下的~/Library/MobileDevice/Provisioning Profiles文件夹下。

到此我们的证书和描述文件已经准备好了。
二、配置Xcode
之前我们有说过xcode自动管理证书的问题,现在我们可以放心的关掉它了。
打开Xcode->general关掉Automatically manage signing这时会多出Signing(Debug)、Signing(Release),或者还有Signing(adhoc)这取决于你的项目。
分别选用相对应的描述文件,如果提示描述文件不包含xx证书,就到Build Settings->Code Signing Identity 将对应的证书选一下。

三、新电脑接入
当公司来了一个新人,或是换设备了,我们也可以很方便的将证书和描述文件拉取下来。
1、将设备的SSH key设置到git仓库中,以使其拥有仓库的读取权限。
2、安装fastlane,这个可以参考上一篇文章,这里如果不使用fastlane其他功能,只需安装即可,无需其他的无需配置。
3、拉取证书和描述文件
fastlane match [type] type可以是appstore, adhoc, development, enterprise。
你也可以加上--readonly以保证只读取仓库的,不会创建新的。
️在我的实践中发现了一个问题,当其他设备第一次使用上述命令拉取证书和描述文件时发现git clone命令被挂起了。原因在于并没有读取本地的SSH key,以至于缺少访问权限,但是当随便git clone其他仓库时,就会提示读取SSH key,然后再回头拉取certificates仓库就会很顺利的执行下去。
四、注册新设备
想一下之前我们添加设备是什么流程,打开开发者网站,添加一个新设备,重新生成描述文件,然后下载描述文件到本地,在Automatically manage signing模式下,xcode还偶尔不选用最新的。。。
现在通过match,更多的是fastlane提供的功能,我们只需要
1、到项目文件下,执行fastlane run register_device,执行中会要求提供设备的name 和 UDID,当然fastlane也提供了多设备注册的方式。
2、执行fastlane match [type] --force_for_new_devices 来更新描述文件。force_for_new_devices参数意味着,match将检查自上次运行match后设备数是否已更改,如有更改即会重新生成描述文件并下载安装到你的计算机。
五、结合fastlane打包时同步描述文件
match作为fastlane一个action,自然可以和自动打包结合的起来,通过设置我们可以在每一次打包时获取最新的描述文件。
match(type: "appstore")
match(git_url: "https://github.com/fastlane/certificates",
type: "development",force_for_new_devices: true)
match(git_url: "https://github.com/fastlane/certificates",
type: "adhoc")
match(git_url: "https://github.com/fastlane/certificates",
type: "enterprise")
# _match_ should be called before building the app with _gym_
gym
# ...force_for_new_devices:true 参数会检测设备数变化进行同步,不适用于appstore type
force:true 参数会每次更新描述文件